Vaporesso Xros Pro Review
The only Pro you'll ever need.-
BrandVaporesso
-
Release Date31/01/24
-
Price£29.99
-
Vaping StyleMTL, RDTL & DTL
-
Weight86g
-
Battery Size1200mAh
Vaporesso Xros Pro Preview
The Xros Pro vape kit is made by Vaporesso, a brand known worldwide for its huge range of high-quality hardware. They’re absolute pros when it comes to vape kits, whether you’re after a powerful box mod like the Armour Max or a discreet option like the Eco Nano.
Vaporesso’s Xros Pro is the latest in their best-selling Xros series. This kit is particularly exciting, since the Xros 3 is my favourite pod kit and my most-used device. Fun fact: the Xros 3 is one of the most popular kits among Vape Club staff.
I couldn’t wait to get my hands on this kit for a thorough review – I bothered our Purchasing team about its due date so much I fear I may have irreparably damaged our friendship. But never mind that. Is the Xros Pro good enough to beat the tough competition found in the rest of the range? Will it become my new everyday vape? Read on to find out!
| Rating Metrics | Our Rating |
|---|---|
| Price | |
| Build Quality | |
| Pod Quality | |
| Battery Life | |
| Portability | |
| Ease Of Use | |
| Features | |
| Coil Range |
What's Included In the Box?
Every Vaporesso Pro box includes the following:
-
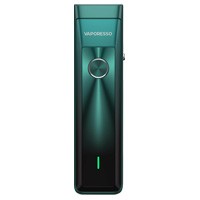 Xros Pro Device
 -
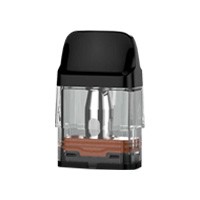 2 x Xros Pro 0.4 Ohm Pods
 -
 USB-C Charging Cable
 - User Manual
What We Like
- Adjustable Wattage
- Multiple Vaping Modes
- “Super Pulse” Mode
- Adjustable Airflow
- Range Of Compatible Pods
- Anti-Leak Pods
- Top-Filling Pods
- Fast Charging
- Clear Yet Subtle Screen
- Can Be Locked & Switched Off
What We Don't Like
- Adjustable Wattage Only For 0.4 Pods
- Rather Heavy For A Pod Kit
Who Is The Xros Pro For?
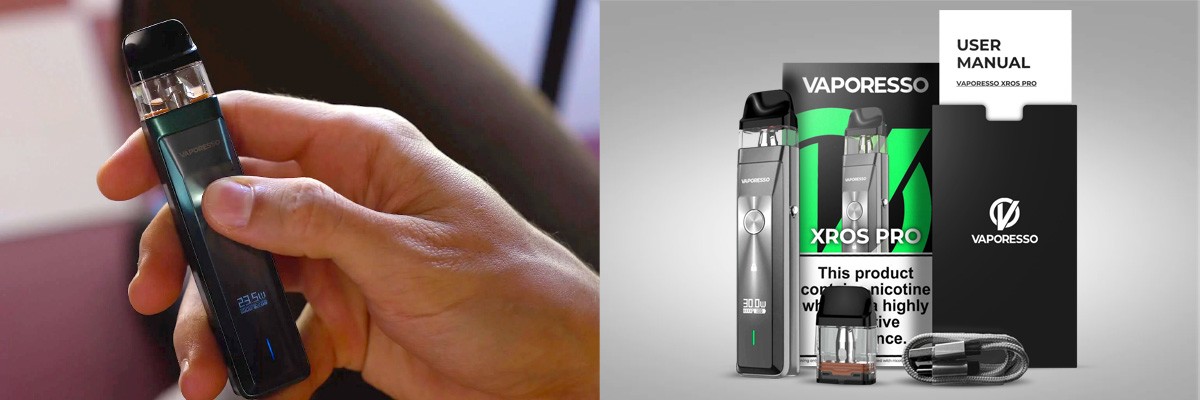
The Xros Pro is fundamentally a versatile kit. Thanks to the range of pods and features, this kit is ideal for anyone looking for a more customisable vape, as well as anyone after an easy-to-use MTL kit with an improved battery capacity.
It can be paired with the new 0.4 Ohm Xros Pro pod, as well as all existing Xros pods in resistances of 0.6, 0.8, 1.0 and 1.2 Ohms. Using the Pro pod, you’ll be able to adjust the power output up to 30W. With the standard pods, you can access a fixed-wattage Normal vape mode as well as battery-saving Eco mode or flavour-boosting Power mode.
How Does The Xros Pro Look And Feel?
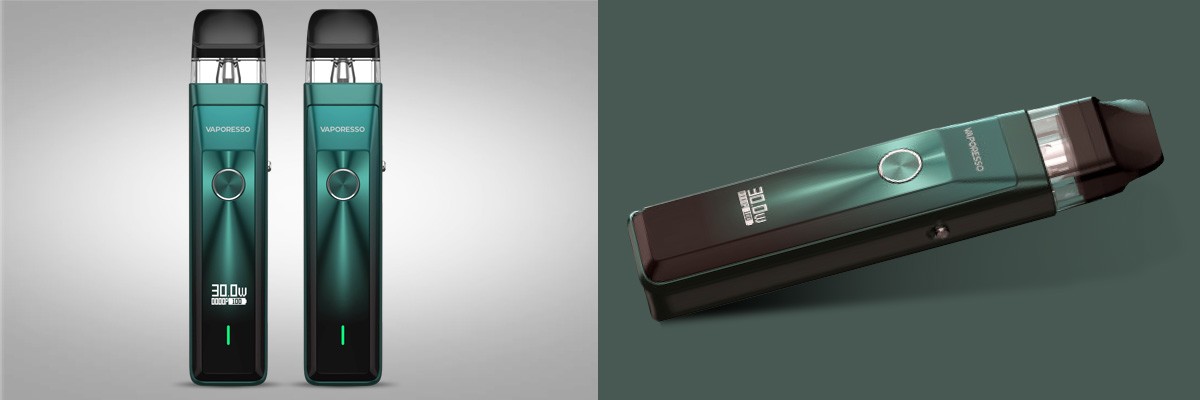
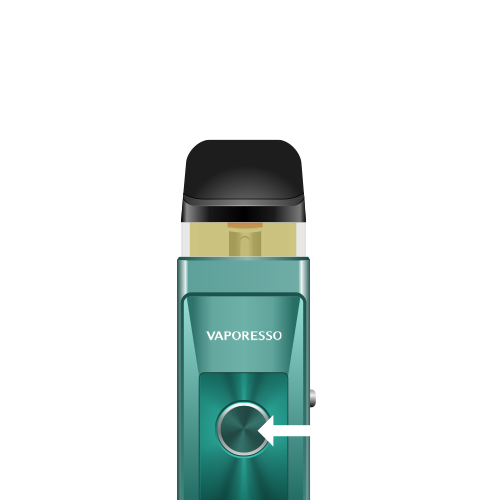
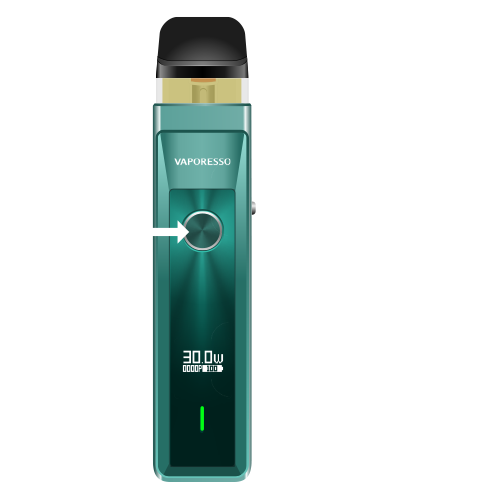
I am really impressed by the build quality of the Xros Pro. It’s a little heavier than the Xros 3, but it’s not unwieldy because it’s still so compact. Instead, it feels solid and sturdy. The power button is textured, the lock button is clicky and tactile, and the airflow slider is secure enough that it won’t slide about on its own.
The display screen, LED battery indicator and lock light are all housed seamlessly within the mirror-finished front. When the lights are off, you wouldn’t even know they were there – and when they turn on, it looks absolutely futuristic. To top it off, you can select from a wide range of colours, from sleek Black or Silver to bold Pink or Green.
How Easy Is It To Use The Xros Pro?
The Xros Pro boasts more features than most pod kits, that’s for sure. But, that doesn’t mean it’s difficult to use. All of the more advanced features, like wattage control or power modes, are essentially optional thanks to the device’s smart chipset. It’ll automatically select the best power output based on the pod you’ve inserted, so if you’re not interested in the more technical side of things you simply can let the kit take care of it for you!
If you do decide to adjust the wattage yourself, your kit will remember your chosen settings for that pod resistance. So, even if you’re swapping between pod resistances, your device will remember your preferences for each type and automatically adjust to match.
What Is The Best Xros Pro Pod?
Because the Xros Pro is compatible with the brand new Xros Pro pods as well as the existing Xros pod range, you’ve got plenty of options to pick from!
If you pair the device with the new Xros Pro pods, you can adjust the power output up to 30W for a warm RDTL (Restricted Direct To Lung) or DTL vape, depending on how open or closed-off you keep the airflow switch. If you prefer a tighter draw, you’re better off with a higher-resistance standard Xros pod option, such as the 1.0 Ohm variant (my personal favourite). The standard Xors pods don’t allow for wattage adjustment, but they do allow you to use Eco, Normal and Boost modes.
How Do I Look After The Xros Pro?
The Xros Pro is full of features, but Vaporesso has still managed to make it easy to set up and maintain. Beyond swapping out and refilling your pod, charging your device and changing the settings when the fancy strikes you, there’s very little that needs to be done.
The Battery
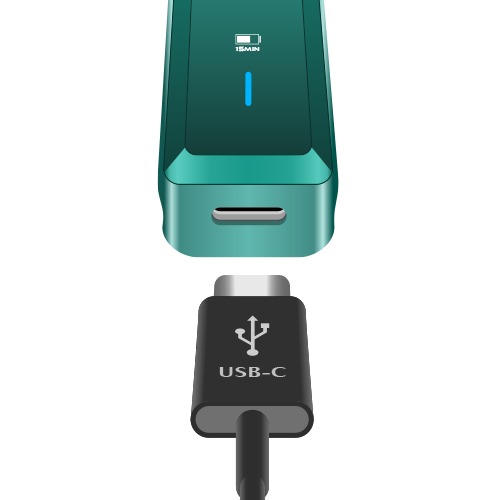
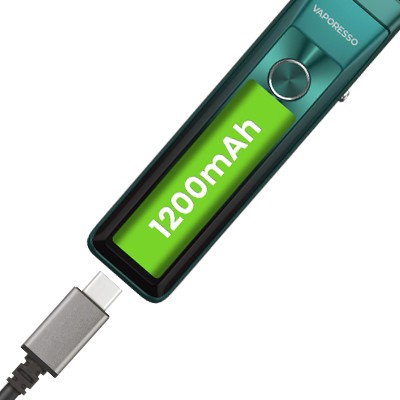
The Xros Pro battery is long-lasting and when it needs to be plugged in 2A fast-charging means it’ll be done in around 35 minutes with the included USB-C cable. Since the Xros Pro supports passthrough charging, you can even use your device while it’s plugged in.
The Pods
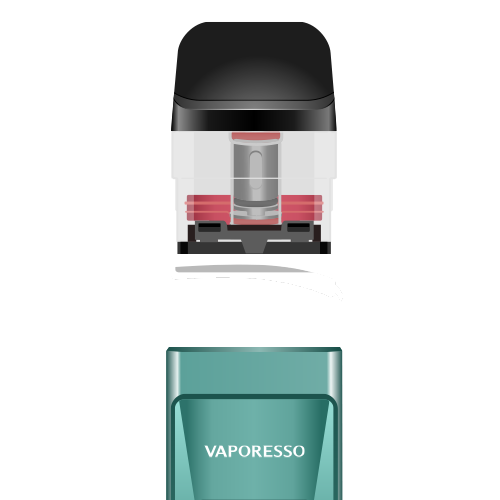
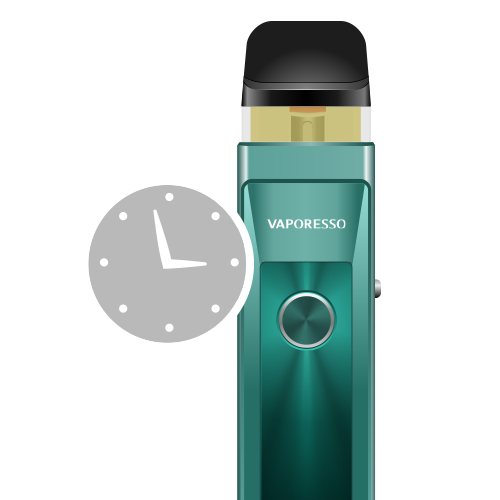
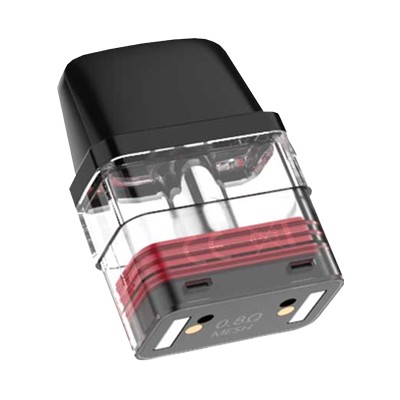
Because Xros Pro pods have built-in coils, maintenance is quick and easy. When the coil has “burned out” – that means the flavour starts to fade or you detect a burnt taste – just replace it with a new one. Fill up your new pod, and let it sit for five minutes to allow the e-liquid to soak in. The pods feature Vaporesso’s signature leak-resistant technology, so you shouldn’t experience any leaking, but if you do face any unfortunate spills, just wipe your device clean with a soft, damp cloth.
Our Expert Opinion About The Xros Pro
I wasn’t particularly happy about having to hand off my Xros Pro sample to the team – I was enjoying using it far too much. When Josh and Hugo finally convinced me to let them take it for a spin, here’s what they said:

JoshThe Vaping Specialist
When I first saw the Xros Pro had been announced, I was a little worried that Vaporesso was about to make a mistake and over-complicate their popular Xros format. But, they’ve managed to add features that allow you to customise your vape without making it too complex for beginners. The adjustable power settings mean you can tailor each inhale, and once you’ve found your favourite power level, it’s easy to stick to as your device will remember the settings you chose last time.

HugoThe Flavour Expert
Buttons and switches are all well and good, but for me, the main question is: how’s the flavour? Our customers already tell us that they enjoy the strong flavours delivered by Xros pods, and being able to adjust the power improves the taste further. You can turn the power up to unlock boosted flavour, or turn it down for a more subtle vape. You might even find that e-liquids taste different at various power levels, as certain notes are more prominent at lower or higher temperatures!
Should You Buy The Xros Pro?
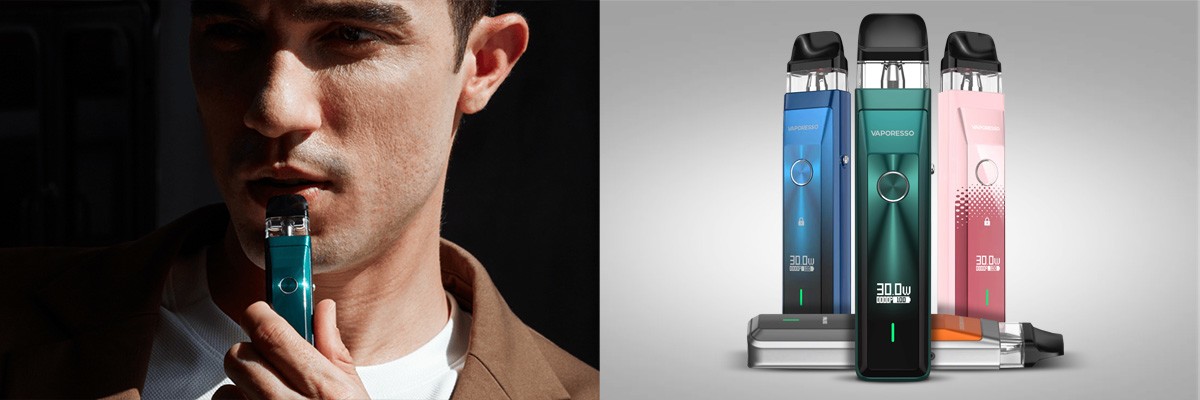
As I said at the start, I was excited about the Xros Pro kit. It absolutely doesn’t disappoint – it delivers everything I’d hoped for.
Wattage control and power modes add personalisation to the simple design that previous Xros devices were known for. But, if you want something more straightforward, you can simply ignore them and let the device’s smart chip figure it out. The high-quality build makes this kit stand out, and I can see it becoming my everyday vape.
In a nutshell: If you’re looking for an easy-to-use everyday vape that can provide authentic DTL (Direct To Lung) and MTL (Mouth To Lung) inhales, I highly recommend the Xros Pro.
Xros Pro Frequently Asked Questions
The Xros Pro has an interface that’s easy to make sense of and comes with a handy instruction manual – but to make things easier we’ve put together an Xros Pro FAQ:
-
We have found that Xros Pro pods last between five and ten days. Stronger-tasting, sweeter e-liquids will burn the built-in coils out faster, while simpler, lighter blends will help coils last longer.
-
The 0.4 Ohm Xros Pro pod works best with 70% VG e-liquid. It’ll deliver a DTL inhale with increased vapour production. You can pair these sub ohm pods with 50% VG e-liquid, but I’d make sure it’s a nic salt and definitely nothing over 10mg – it’ll be too strong.
If you prefer an MTL vape or to use a high nicotine strength, we’d recommend the higher-resistance non-Pro Xros pods. These can be paired with any 50% VG e-liquid.
-
After each puff, or when you insert a pod, the battery LED will change colour. Green means the battery is higher than 70%, blue means it’s between 30% and 70%, and red means it’s lower than 30%.
-
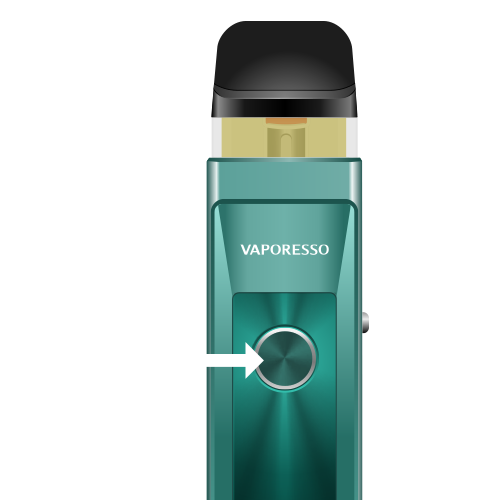
Click the power button five times to turn the Xros Pro on or off.
-
You can lock the Xros Pro power button using the switch on the side of the device. When the kit is locked, you can vape by inhaling on the mouthpiece. You can still use the power button to switch the device off when it’s locked, you just won’t be able to accidentally press the button while it’s in a pocket or bag.
-
Most vapers will find that the Xros Pro battery will last at least one full day. If you use your device in Eco mode, it will last for longer, while using it in Power mode or at a higher wattage will decrease the battery life. Once the battery has run out, it can be recharged in around 35 minutes using the included USB-C cable. When you plug in your device, the screen displays how many minutes of charging.
-
The light on the Xros Pro will change colour to let you know if it’s charging and to keep you informed of the battery’s current charge level.
-
The Xros Pro, like almost every other refillable vape kit, is cheaper than a prefilled pod kit. Let’s assume you vape 2ml per day: For a two-week supply, you’ll need a vape kit (which includes two pods), and 28ml of e-liquid (three 10ml bottles).
You’ll spend between £40 and £45 in the fortnight where you buy your kit, depending on how much you vape and which e-liquid you pick (and whether you take advantage of our e-liquid multi-buys). After that, when you’re only buying pods and e-liquids, you’ll spend between £15 to £20. To compare, two weeks’ worth of prefilled pods would cost roughly £35.
-
The Xros Pro is more eco-friendly than other kinds of vape like prefilled pod kits and a lot more than disposables were. This is because the only part of the Xros Pro that needs to be disposed of is the pod once the built-in coil burns out after 10-30ml of e-liquid. In comparison, prefilled pods need to be disposed of when they run out of vape juice.
Which Vapes Are Similar To The Xros Pro?
If you’re looking for something similar to the Xros Pro but with cheaper, more budget-friendly replaceable coils, we recommend the Caliburn G3 pod kit. It’s of a similar shape, size and weight, but you’ll save money and produce less waste if you’re willing and able to swap your coils out yourself. Plus, its adjustable wattage feature can be used with all G3 coils.
If you’re not sold on the Pro’s adjustable power levels and would prefer something simpler, go for the popular Xros 3 instead. It has no settings or menus but features an adjustable airflow switch and full Xros pod range compatibility, so there are still plenty of ways to personalise your vape.
Need More Help?
There you have it – our full review of the Xros Pro vape kit. We hope we’ve helped you decide whether this is the right kit for you! If you need any further advice on this vape kit, feel free to get in touch with our customer service team. Our friendly vape experts are here to help, seven days a week, by phone, email and live chat.
